
Christmas cookies

Well what a year 2020 has been! One that I don’t think anyone of us will forget in a hurry. I think we all need some Christmas prettiness & some distraction.
Cookie decorating is a fun thing to do at this time of year for edible gifts or for edible decorations – you can even get your children involved & let the fun commence. There isn’t an air freshener on the planet that smells as good as cookies baking in your oven – fact!
I thought I would share with you my cookie recipe which gives you a good base to work on. Plus a few tips along the way too –
Claire’s Perfect Vanilla Cookie Recipe
Makes about 24 medium size or 12 large cookies
Baking temperature 180C or gas mark 4
Baking time 7-10 minutes depending on size
INGREDIENTS
200g unsalted soft butter
200g caster sugar
1 egg lightly beaten
400g plain flour – plus a little extra for dusting
EQUIPMENT
Electric mixer with paddle attachment
Cling film
Large rolling pin
Cookie cutters
(pair of marzipan spacers – optional)
Palette knife or butter knife
Baking paper
Wire cooling rack
OPTIONAL FLAVOURS
Vanilla cookies – add seeds from 1 vanilla pod or use 1 tsp of vanilla bean paste
Lemon cookies – add finely grated zest of 1 lemon
Orange cookies – add finely grated zest of 1 orange
Chocolate cookies – replace 50g of the plain flour with 50g of cocoa powder
1. In the electric mixer with paddle attachment, cream the butter & sugar with your chosen flavouring until well mixed and creamy in texture. Don’t over work your mix or the cookies will spread too much during baking.
2. Beat in the egg until well combined. Add the flour and mix on low speed until a dough forms. (the mixer will start slowing down and the mix looks lumpy) Gather it into a ball & wrap it in cling film and chill if for at least 1 hour. I like to leave it overnight. Tip - I would make 1 large ball of dough then cut it in half and wrap the 2 halves in cling film as easier to knead.
3. Place the dough on to a surface lightly dusted with flour & knead briefly. Roll to an even thickness. (you can use marzipan spacers to guide you)
4. Use your cookie cutters to cut out the desired shapes. I find metal cutters a lot easier to work with & a cleaner cut. Using a palette knife lay your raw cookies onto a baking tray lined with baking parchment or greaseproof paper. Tip – if making hanging cookie decorations now is the time to add a hole with a skewer, remembering that the hole will shrink slightly during baking. Chill again for about 30 minutes & preheat your oven to 180c or gas mark 4.
5. Bake for 7-10 minutes depending on size or until just turning a golden brown at the edges. Leave to cool on a wire rack.
Always bake equally sized cookies together as smaller ones will bake more quickly.
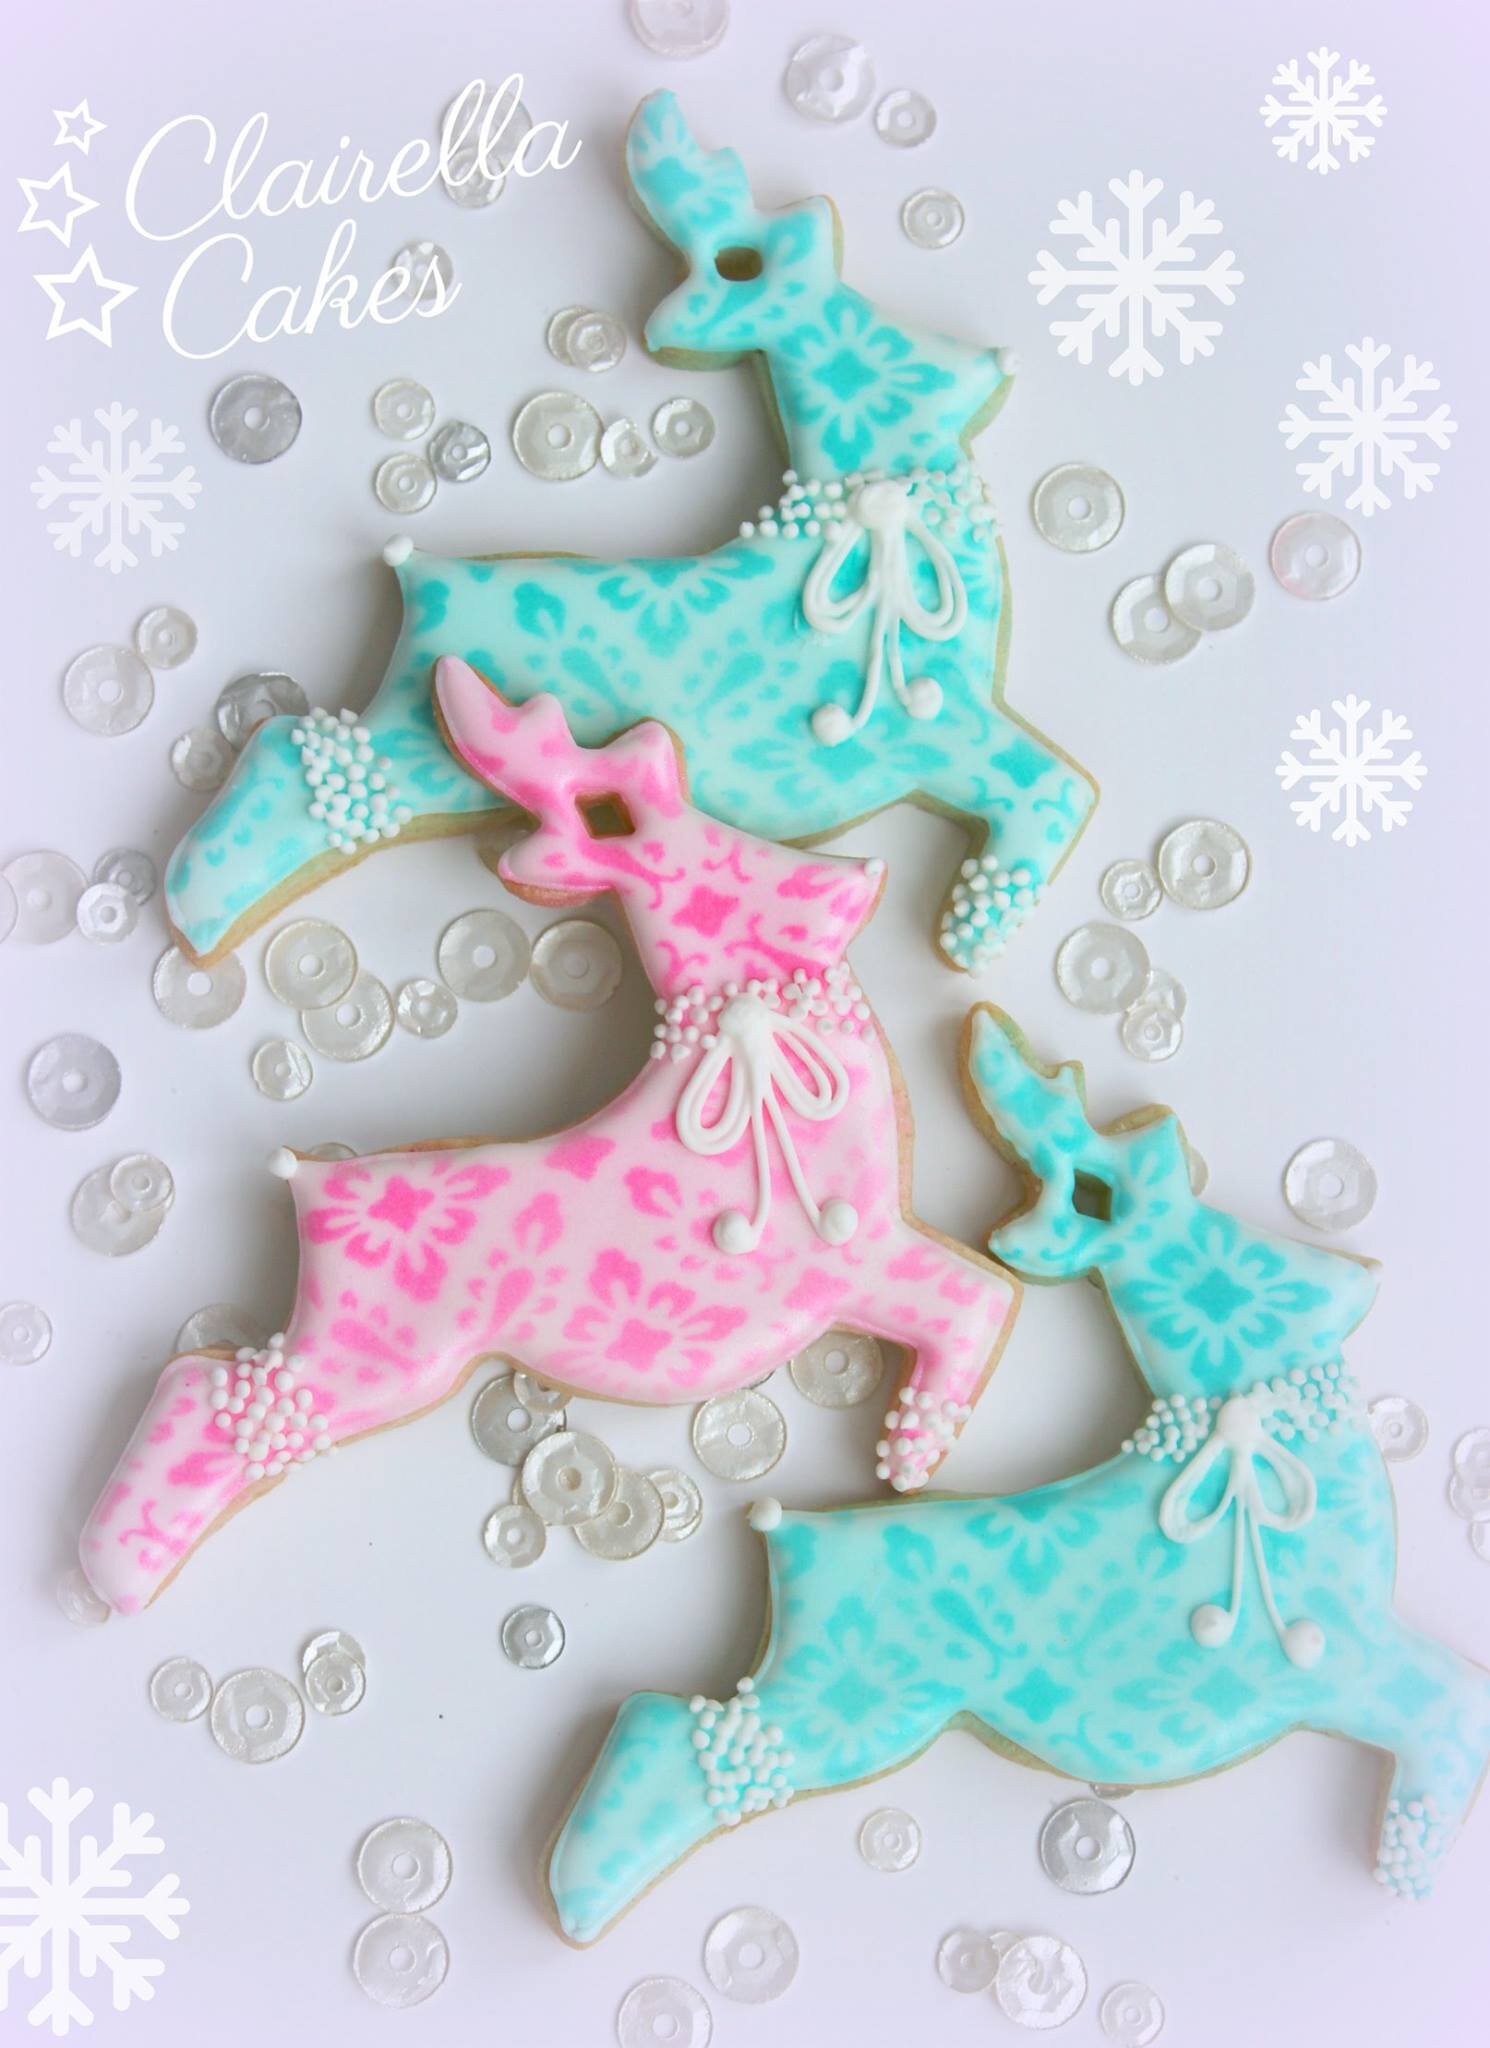
6. Decorate cookies with your chosen decorations. Sprinkles are always fun & festive for kids & I use Squires Kitchen ready mixed royal icing for flooding cookies & piping details – you just have to adjust the consistencies. Be careful if colouring with a liquid as obviously you may need to add less water to your icing. I flood all my cookies white & then when dry airbrush the colours with the Clairella Cakes airbrush as then I don’t have to mix lots of different colours.
Cookies will keep 4-6 weeks if kept in a cool dry place – I suggest a cookie tin rather than Tupperware. If preparing for gifts or for resale I would suggest a shelf life of 4 weeks. Food safe cellophane bags are great for cookie gifts & you can add decorative festive ribbons. Always remember to add an allergens label just to be on the safe side.
Happy Baking Cookie Monsters 😊
Claire x